AI Workflows
From sources to slides: how to build a presentation you can verify
Choose evidence, define an audience and a focus, generate a slide deck, inspect claims and speaker notes, and download the PowerPoint. A practical walkthrough with real app screenshots.
- Slides
- Presentations
- Evidence
A presentation can look finished before its argument is ready. Generating slides is the drafting step; checking the claims, choosing what your audience needs, and deciding how to describe uncertainty are still your responsibilities.
This walkthrough creates a real PowerPoint deck from the fictional urban tree practice brief. Screenshots show the actual customization dialog, a real completed generation, the slide viewer, and the download control. This is a teaching example, not a presentation of real scientific findings.
1. Define the audience and the decision
Write one sentence about the audience and what they should understand or decide. A seminar explanation, a funding proposal, and an introductory class presentation may use the same source but need different emphases. “Make slides about trees” does not identify any of those needs.
That brief is a better starting point than a slide count. It tells you what would make a slide useful and what would make one misleading. You can decide later whether the deck needs shortening.
2. Select the evidence
Download the urban tree practice PDF. This one-page brief is fictional teaching material, not a published study. Use it to practice the controls and evidence checks without uploading private documents.
Add the brief to a notebook and wait until it is ready. The first-notebook guide uses its complete text through Copied text; the PDF guide covers file upload. Either way, inspect what you actually added before presenting it as a source.
Select the relevant source checkbox and deselect unrelated study notes. If you include your own synthesis note, remember that it is your interpretation, not an additional independent study. The selected source count in the generation dialog is a useful check, but inspect the source titles as well.
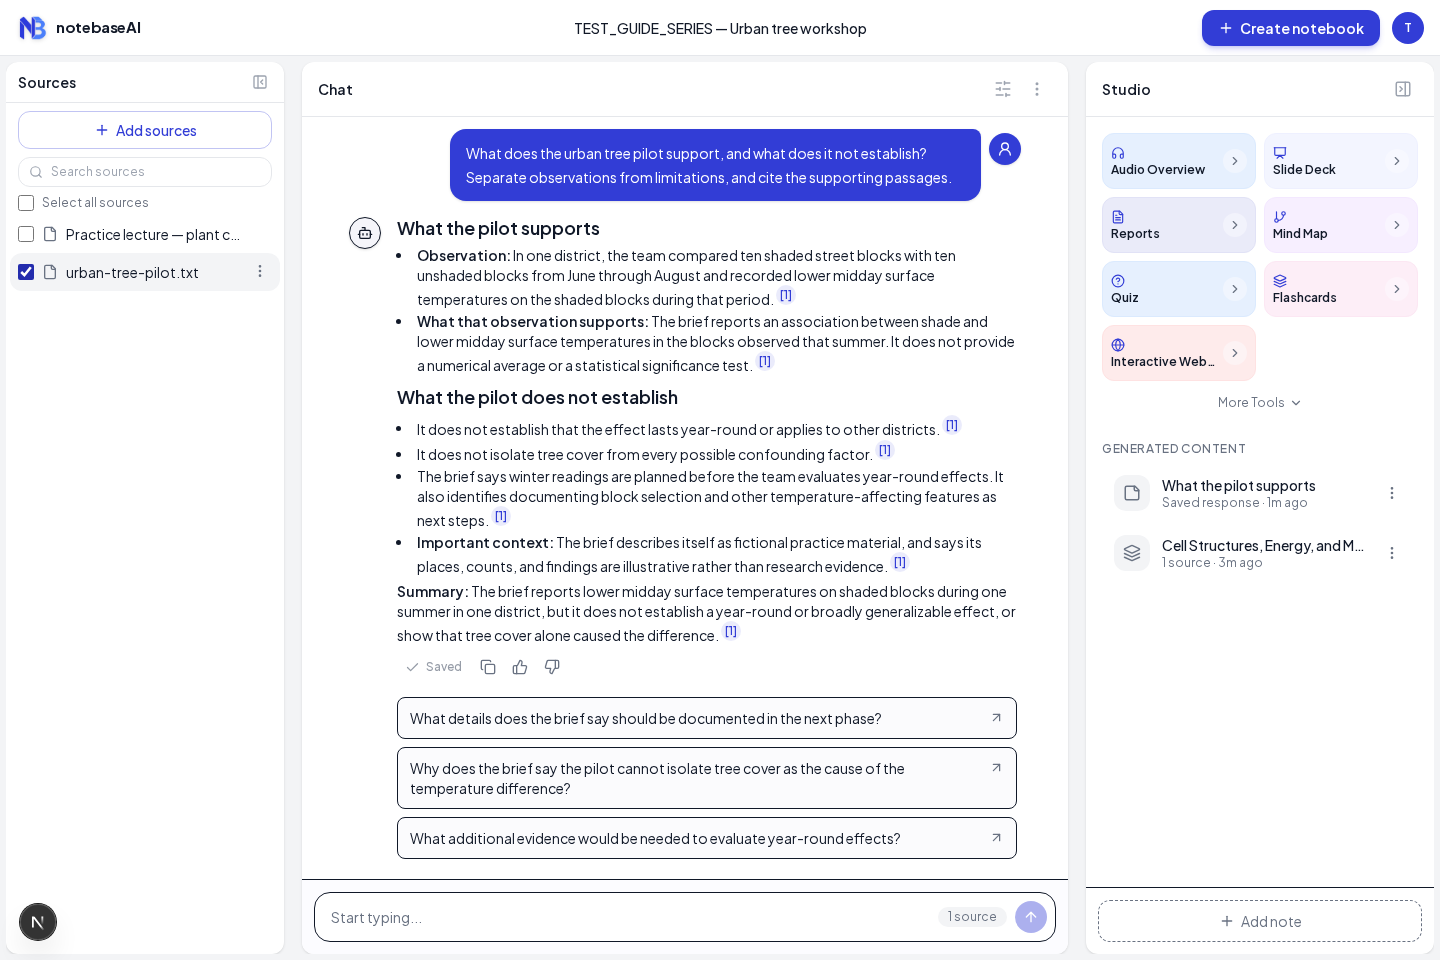
For a real talk using several papers, create a claim list before generating: the claim, its supporting source and passage, the qualification, and the role it serves in your argument. This reduces the chance of treating a visually compelling generated sentence as a verified fact.
3. Set style, language, and focus
Choose Slide Deck in Studio. The dialog exposes a style preset, language, and focus topic. You can leave the style on Auto-select best fit or choose one of the listed presets. Choose the language for your audience, then use the focus topic to communicate the presentation brief.
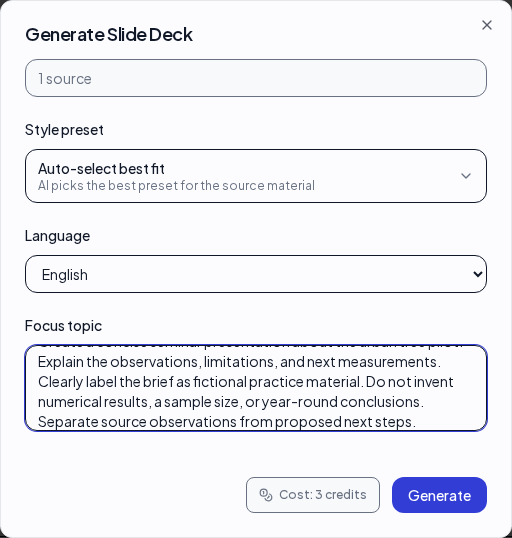
The current Slide Deck action costs 3 credits, displayed before generation. This workflow does not assume a slide-count control that the dialog does not expose. If the output is longer than your talk requires, review and edit the downloaded deck afterward.
4. Generate and open the deck
Choose Generate once. Watch the job status in Studio and let it complete. Keep the notebook available so you can inspect progress; navigating between items should not be a reason to submit another copy of the same request.
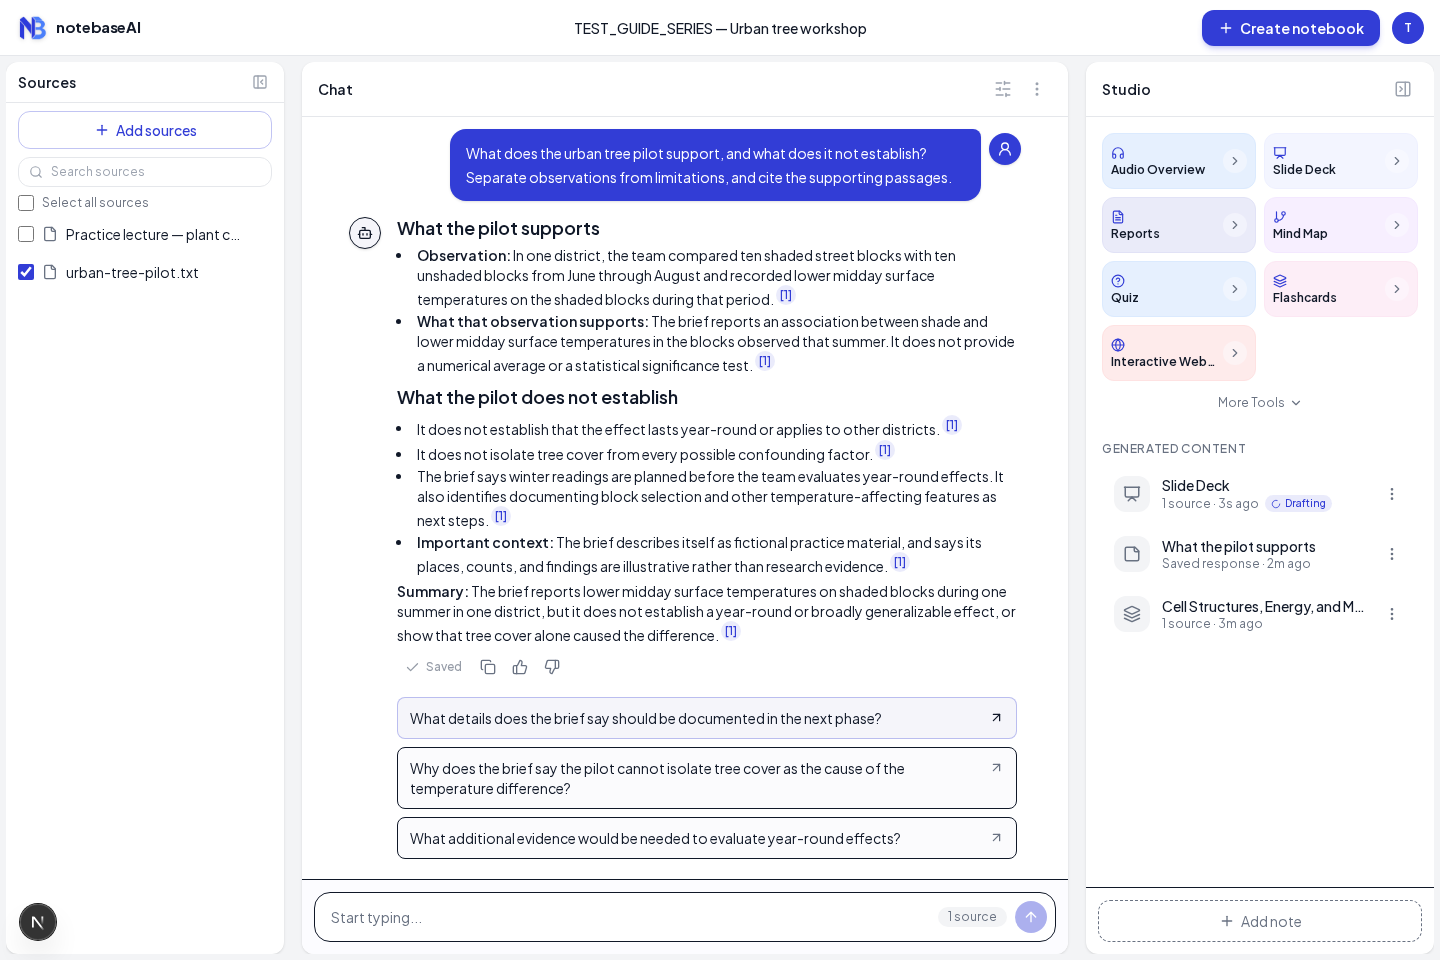
Open the completed item. Use the viewer’s next and previous controls to inspect the slides, and read any speaker notes shown below the current slide. The title slide alone cannot tell you whether the deck answers your question or preserves the source’s limits.
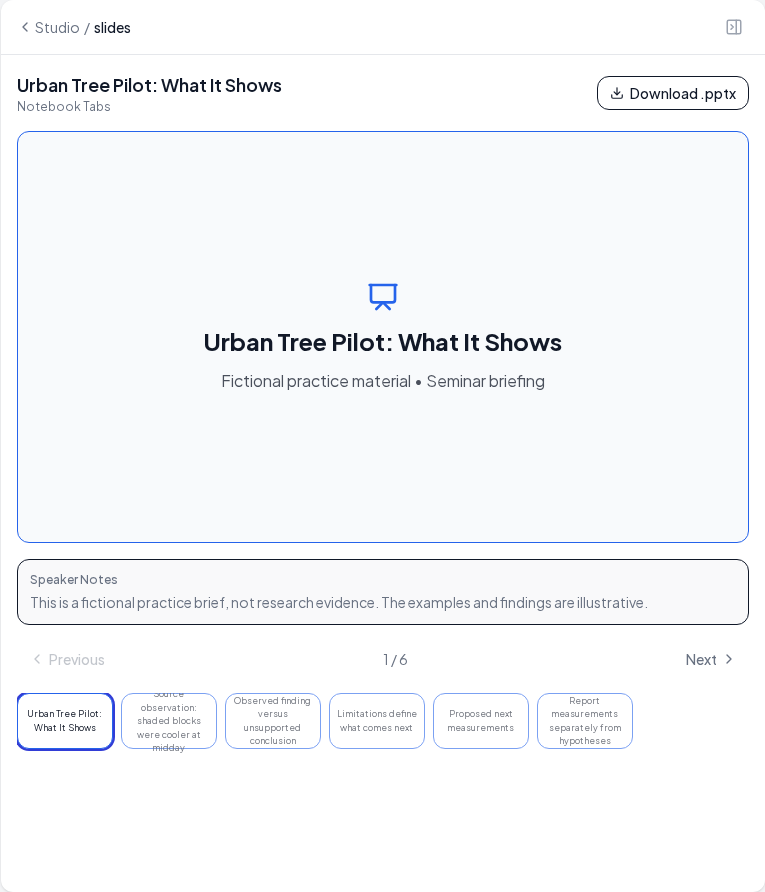
5. Audit claims, numbers, and notes
Read every factual claim as though you were asked to defend it aloud. For each number, ask where it appears, which units and denominator it uses, and whether the source gives the precision shown. If the brief has no measured average temperature, a slide should not manufacture one to make the argument feel complete.
| Slide claim | Verification task | Revision if unsupported |
|---|---|---|
| The pilot describes a summer observation | Locate the observation period in the practice brief | Name the actual period; do not generalize to all seasons |
| The program reduced temperature by a stated average | Find the exact numerical result and how it was calculated | Remove the number if the brief does not report it |
| Winter measurements are a useful next step | Separate the brief’s stated future work from your proposal | Label a proposed measurement as a proposal |
| The result proves a city-wide effect | Check study coverage, comparison conditions, and design | Use a narrower description of what the pilot can support |
Inspect charts and illustrations as well as bullets. A diagram may be explanatory rather than measured data. A plausible-looking chart is not evidence unless its values and labels match a source you can identify. Check speaker notes too: they can contain claims that are not visible on the slide itself.
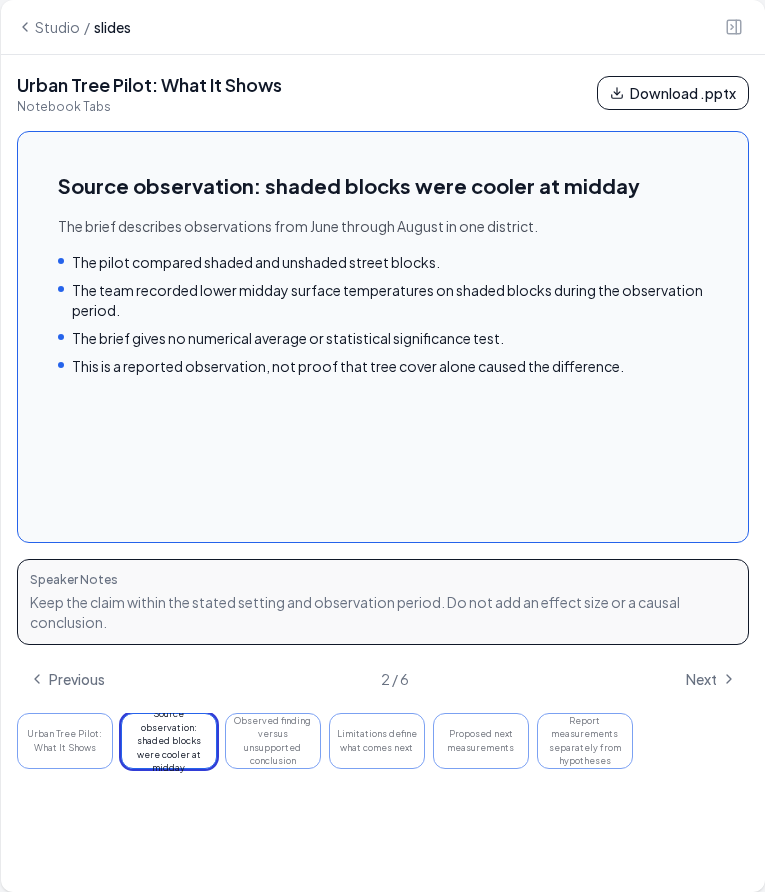
Do not assume that every exported slide has complete academic citations. Keep your own source list and add whatever references your course, organization, or venue requires. For a broader comparison of studies, use the literature-review method before reducing the argument to slides.
6. Download and rehearse
Use Download .pptx when the deck’s file is available. Open it in your presentation software and check layout, fonts, images, notes, and any references you added. A browser preview is useful, but it does not replace checking the actual downloaded file.
Rehearse the explanation against the audience goal. If you cannot explain a technical term without reading a generated paragraph, return to the source. Shorten crowded slides, give each slide a clear job, and keep important qualifications next to the claim they qualify.
Prepare for one reasonable challenge: “What evidence supports this?” Keep the relevant source and your claim ledger accessible. Being able to answer that question is a stronger sign of readiness than having a polished theme.
7. Troubleshoot without duplicating jobs
If the deck is irrelevant, check the source selection and focus topic. If its claims are too broad, revise the brief or the downloaded deck rather than accepting confident wording. If the source is too thin, add real supporting material; a longer prompt cannot supply missing evidence.
If a generation fails, read the status or error before retrying. If the download control is disabled, the file is not yet available in that view; do not describe the preview as a downloaded PowerPoint. Verify your account balance and source readiness before starting another attempt.
For the evidence trail behind a presentation, see organizing research notes. For an unfamiliar source, use the difficult-paper guide to resolve comprehension gaps before presenting them to someone else.