Getting Started
Your first notebook: from adding sources to getting cited answers
Create a notebook, add a practice brief with Copied text, ask a focused question, check the source passage, and save a useful answer. A screenshot walkthrough of your first notebaseAI session.
- Notebooks
- Citations
Your first notebook should help you complete a small task: understand a source, answer a question about it, and keep an answer you can check later. Begin with a short document instead of an entire research folder. You will learn the controls and the evidence-checking habit at the same time.
The screenshots in this walkthrough come from an actual disposable notebaseAI account. The notebook has a TEST_GUIDE_SERIES label so it cannot be confused with real work. Your account, available credits, and generated wording may look different.
1. Start with one source and one question
Download the urban tree practice PDF. This one-page brief is fictional teaching material, not a published study. Use it to practice the controls and evidence checks without uploading private documents.
The brief describes an urban tree pilot and its limitations. Our goal is to identify what it supports and what still needs measuring. This is a manageable first task because you can read the entire source yourself and recognize when an answer introduces an unsupported detail.
Sign in before following the app steps. The public article is readable without an account, but creating a notebook, uploading a source, and sending a chat message use the authenticated workspace. Upload and generation allowances depend on your plan; check the values shown in your account rather than assuming another person’s balance applies to you.
2. Create and name your notebook
Open the dashboard and choose Create notebook. The notebook is a container for sources, chat, notes, and generated materials related to one task. A useful title describes that task, such as “Urban tree reading workshop,” rather than only naming a broad subject.
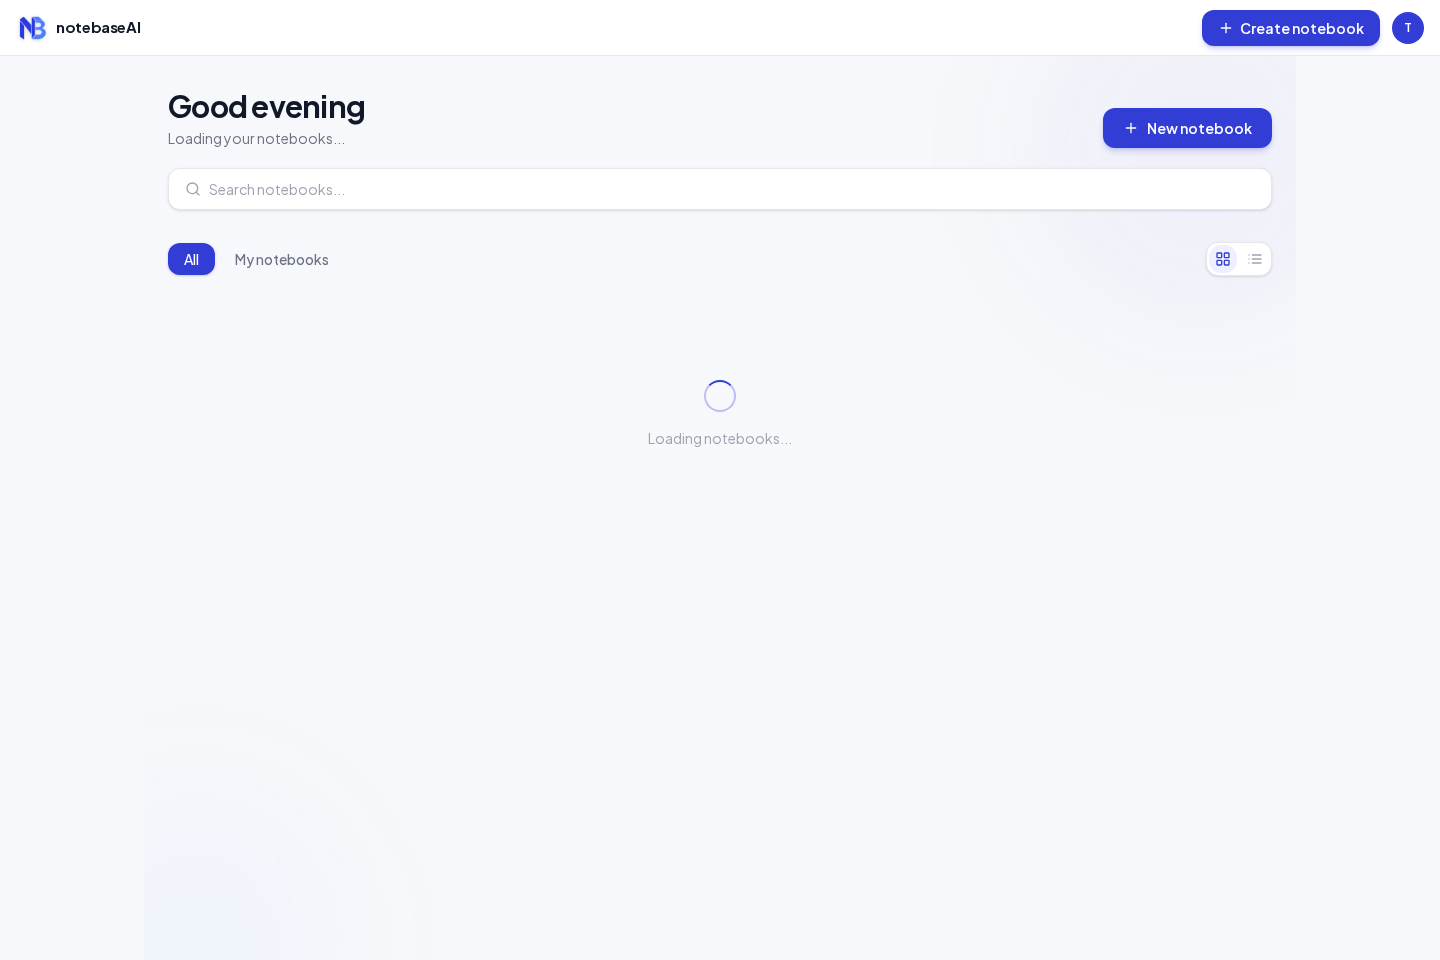
A new notebook can open the Add sources dialog immediately. Close it temporarily if you want to rename the notebook first. Select Untitled notebook in the header, enter your title, and press Enter. You can return to Add sources afterward.
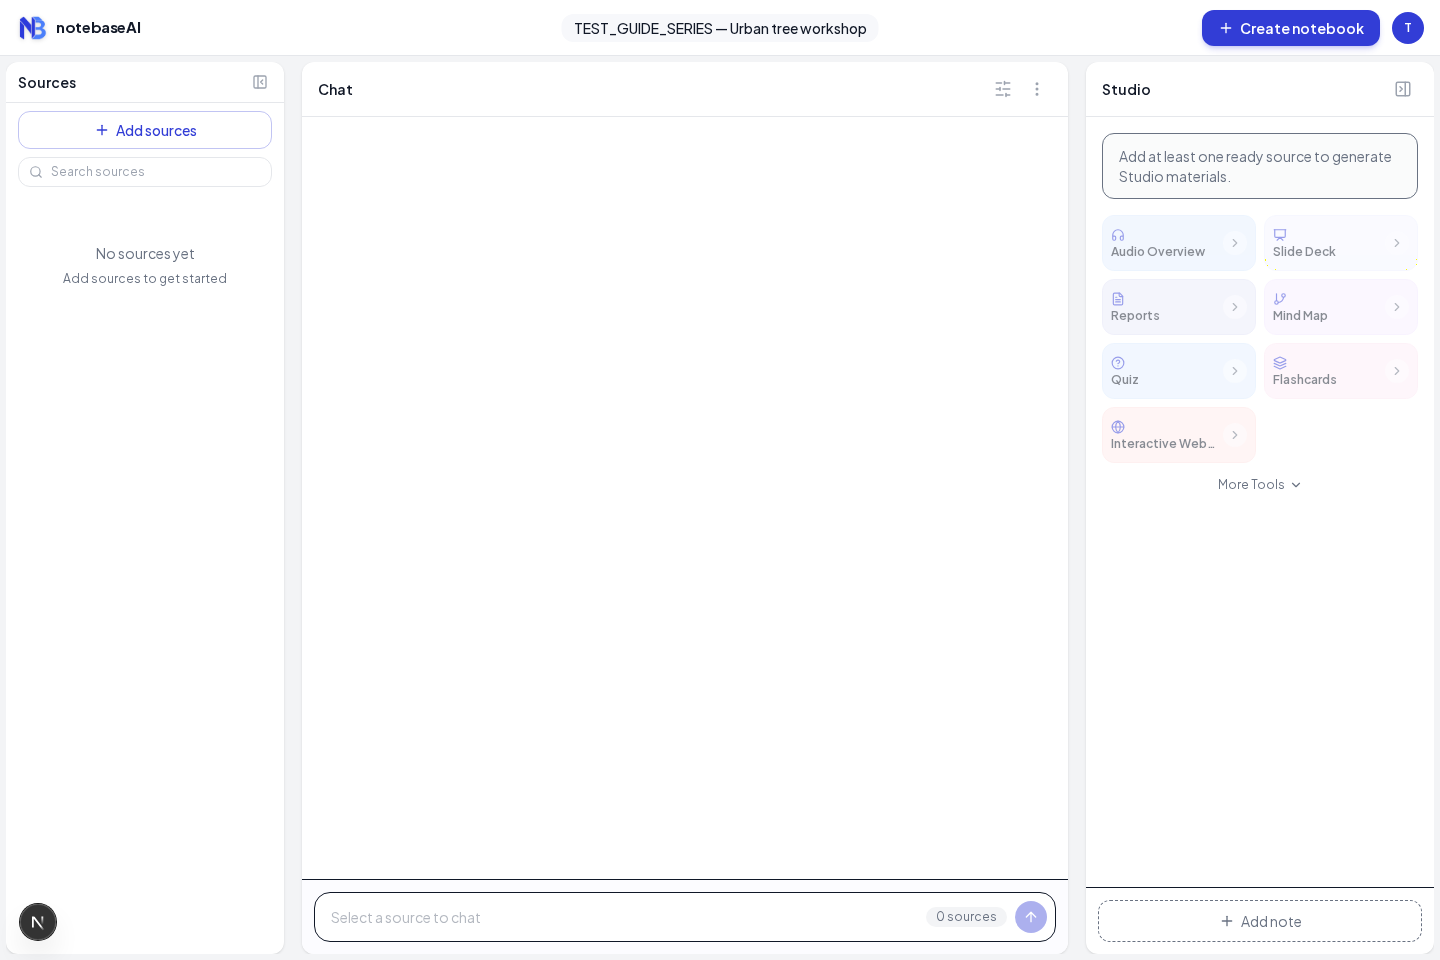
| Panel | Your first task | What to check |
|---|---|---|
| Sources | Add the practice brief and select it | The source has finished processing and its checkbox is selected |
| Chat | Ask one focused question | The answer includes evidence you can inspect |
| Studio | Keep a useful answer as a note | The saved item opens and preserves the answer’s context |
3. Add the practice brief
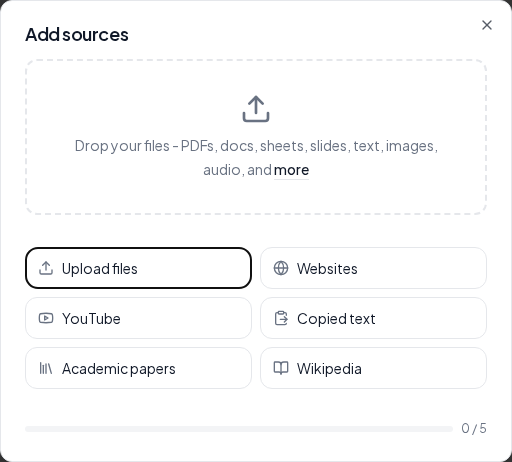
Choose Add sources, then Copied text. Open the plain-text version of the practice brief, copy its contents, and paste them into the text box. Give the source a recognizable title such as “urban-tree-pilot.txt,” then choose Insert.
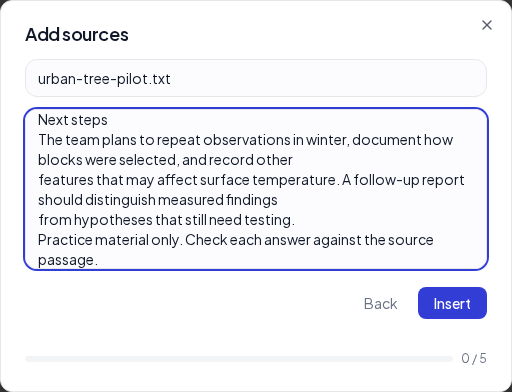
Wait for processing to finish before asking a source-based question. A source can be listed while its text is still being indexed. Confirm that its checkbox is enabled and selected in the Sources panel.
The demonstration notebook also contains the separate plant-cell practice notes used by the study guide. Leave those unchecked here: this question should use only the urban tree brief. The notebook’s total source count can differ from the selected source count for a request.
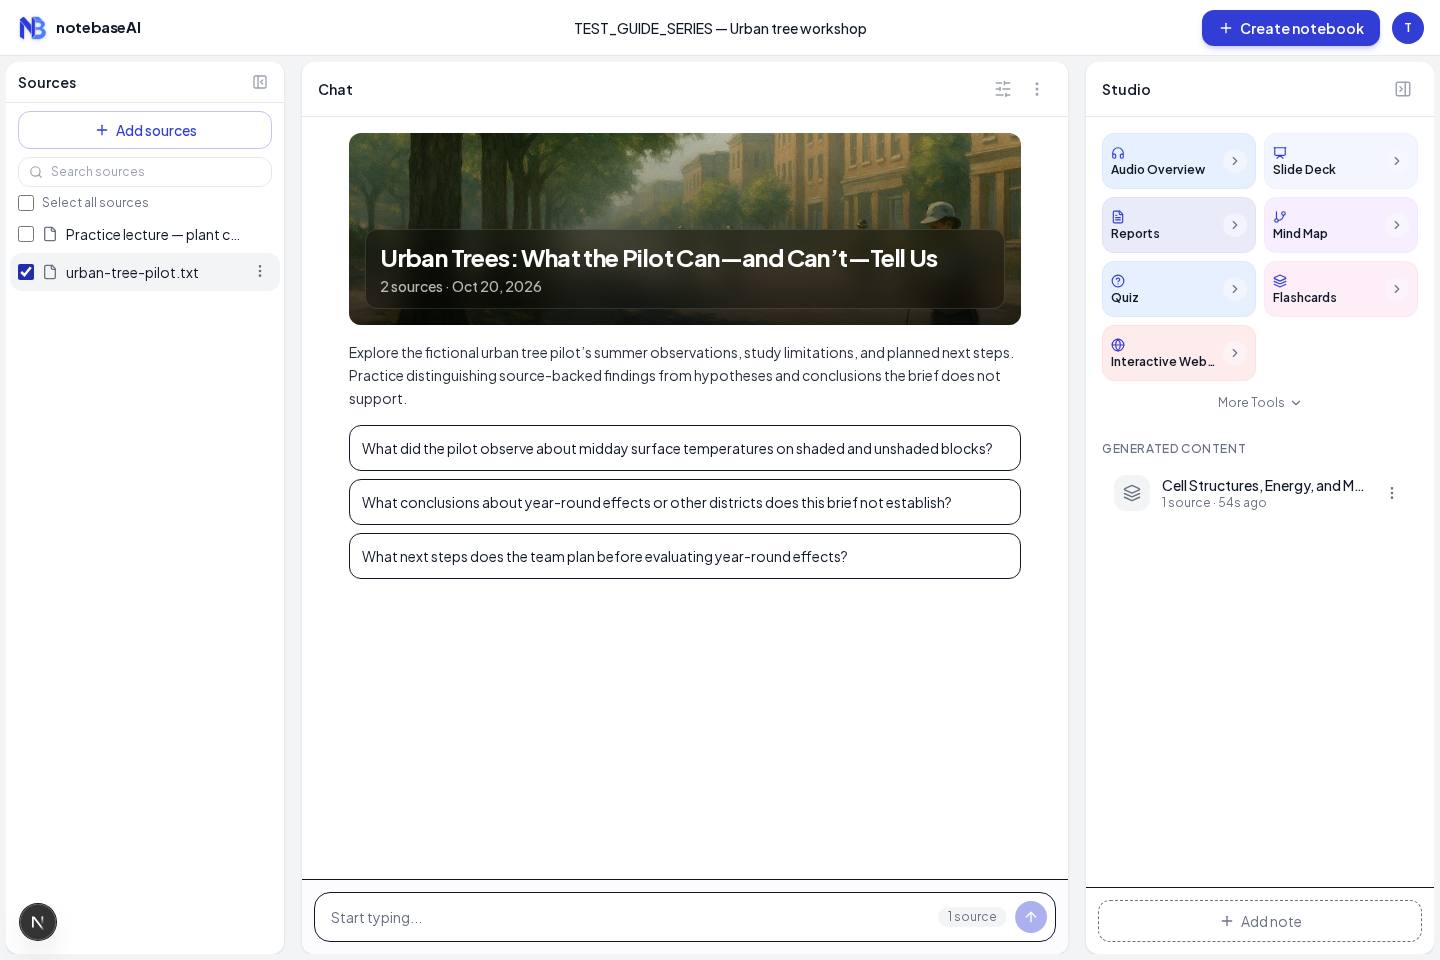
For your own PDFs, use Upload files instead; the PDF walkthrough covers that route. An image-only scan may need additional extraction. A pasted excerpt and a full document provide different evidence, so keep track of what you actually added.
4. Ask a focused question
Keep only the practice source selected. Enter the example question in Chat and send it. A focused request tells the assistant what kind of answer would help: observations, limitations, and supporting evidence. “Tell me everything” offers much less guidance.
Wait for the answer to finish before evaluating or saving it. Read whether the answer distinguishes something the brief reports from something it only proposes investigating. A good answer should not invent a numerical average where the practice brief supplies none.
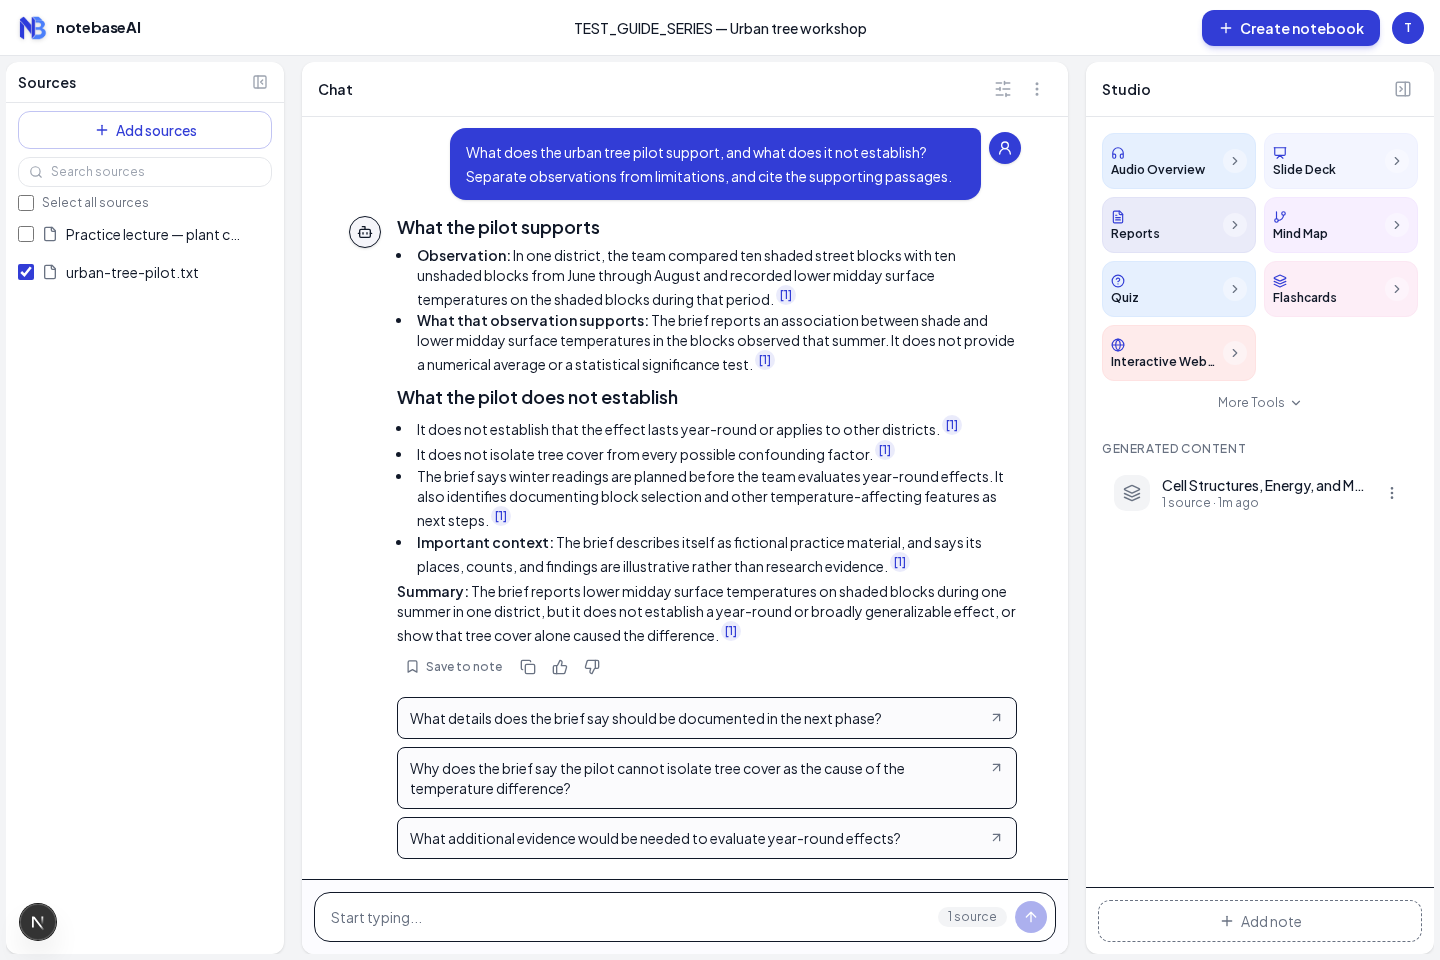
For a follow-up, ask one narrower question: “Why can’t this brief establish a year-round result?” The second answer should use the study period and planned measurements, not simply repeat the first answer in different words.
5. Check the cited passage
Select a citation in the answer to open the related source passage. Wait for the source text to load, then read around the highlighted or referenced material. A citation gives you a route to evidence; you still decide whether the passage supports the exact claim.
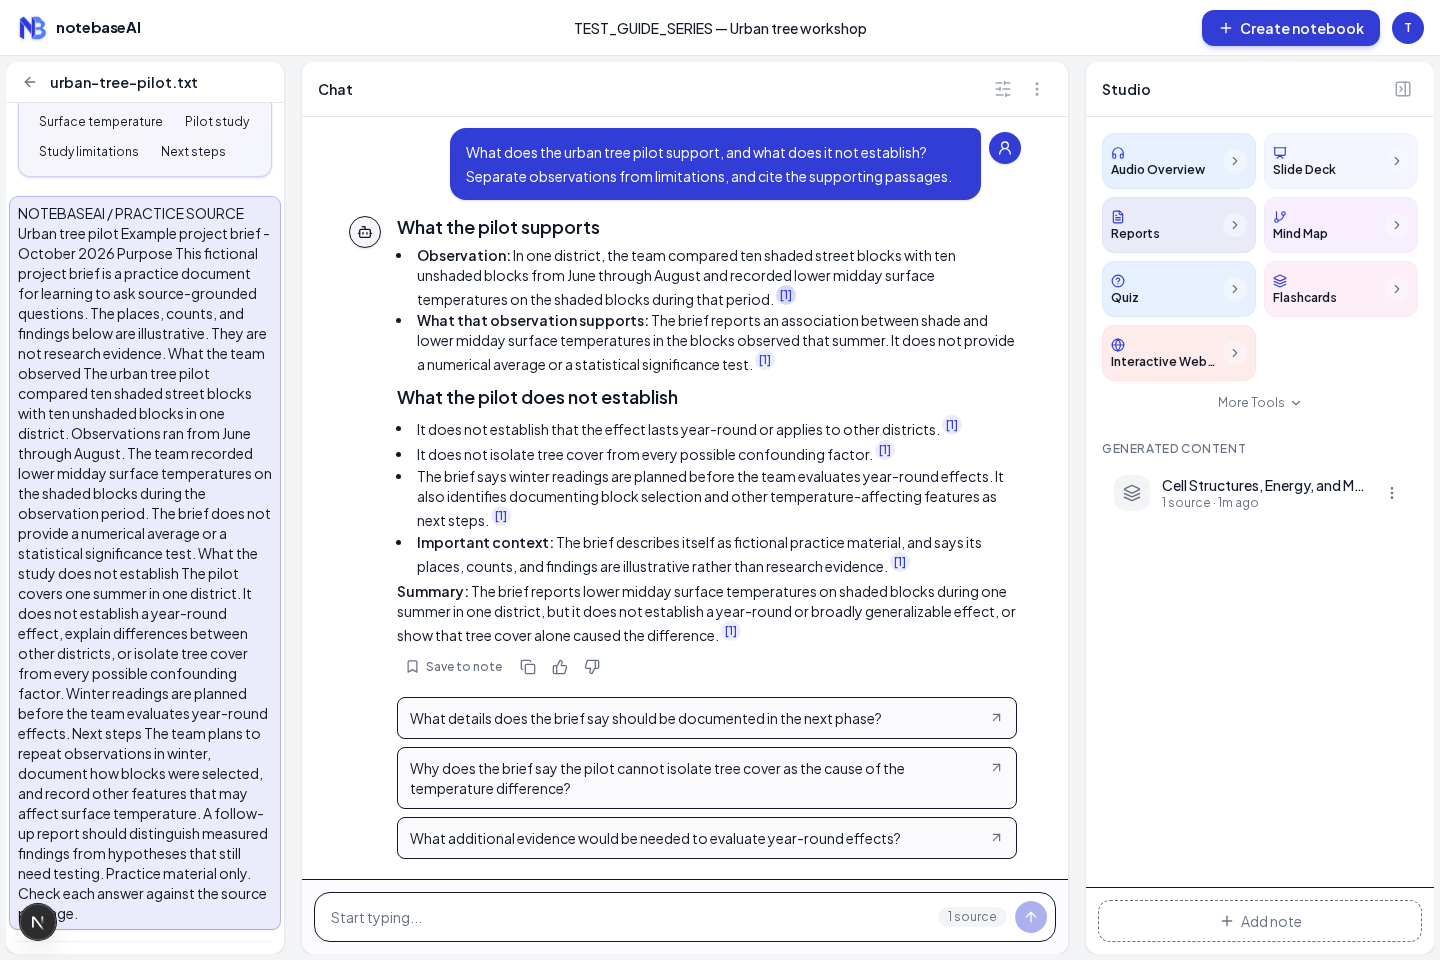
Use three checks: does the source say it, is the answer describing the same setting or population, and did the answer preserve the qualification? In our practice brief, a seasonal observation must not become a year-round guarantee. If the citation opens an irrelevant passage, narrow the question or inspect the source directly.
The PDF questions and citations guide goes deeper into this checking loop, including prompts that distinguish reported evidence from interpretation.
6. Save a useful answer
After checking the answer, choose Save to note beneath it. The action changes to a saved state, and the note becomes available in Studio. Open it to confirm that the material you wanted to keep is present.
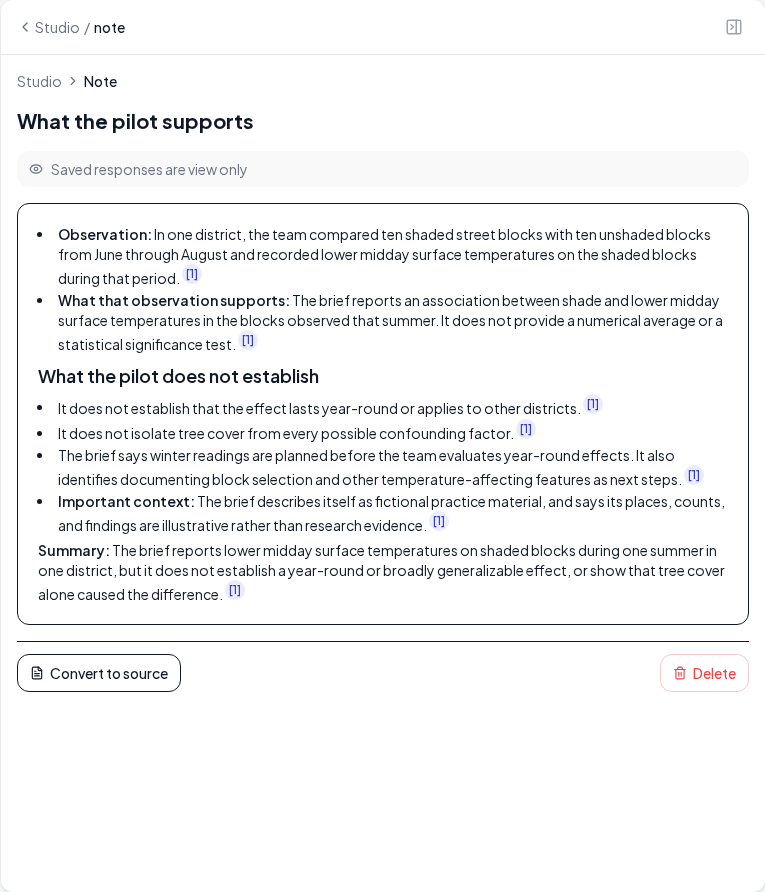
Saving an answer is a convenience, not a second verification step. If you later change the question or add sources, revisit whether the saved answer still provides the context you need. For an editable synthesis, use Add note and write your own interpretation; see the research-notes walkthrough.
7. Know what to do next
Before leaving, you should have one named notebook, one ready source, one answer you checked, and one saved item. Reopen the notebook from the dashboard to confirm that your work persists. This is a complete first workflow even if you have not generated any additional materials.
For studying, move to flashcards and practice quizzes. For listening, use the existing audio overview guide. For sharing an argument, follow the presentation walkthrough. Choose one next task instead of generating every output simply because the controls are available.
If your first session gets stuck, check readiness and source selection before rephrasing the question repeatedly. If Chat or Studio reports a credit or generation error, read it and confirm the account state. A pending task should be allowed to finish or fail before you submit another copy.